
Tiling the entryway was probably the first renovation project I did at our rental home, and it was supposed to be one of the only things I had to do. But if you caught my post last week about our colour scheme, then you know that we’ve decided to give everything a bit of an overhaul… so I’ll be sharing many more things to come! Either way, today I’ll show you how much better the main entrance looks now that there is proper flooring.
– Note: This post contains affiliate links. See more information about affiliates here. –
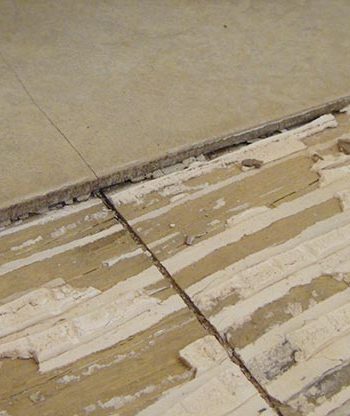
Oh, and technicallllyyy the entryway is not even done yet (including the tiles!) since we still have to finish the painting, redo the wood floors, then install some new baseboards. I promised you that it would look a lot better, so here is a photo of what the entry area looked like when we moved in:
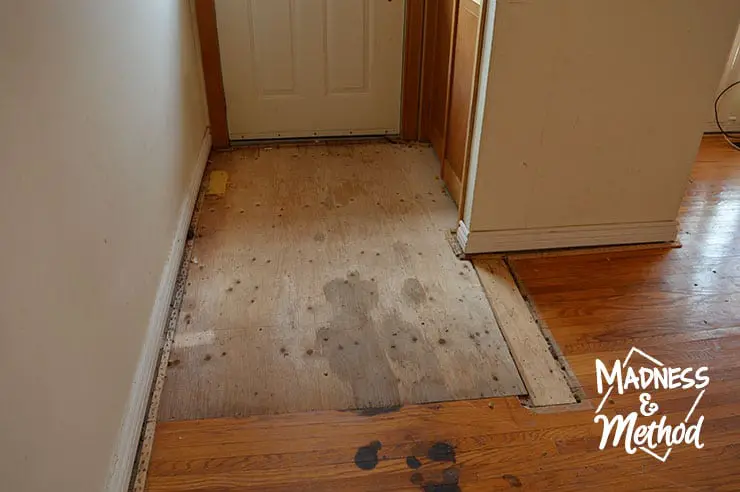
You can see the rest of the “before” photos here, but basically, we suspect that the living room (and some of the bedrooms) were previously carpeted – as evidenced by the tacks along the walls and weird built-up subfloor in the entrance.

We’re not quite sure why there were so many shapes, was there a wall there at one point? So I had the Husband rip out the extra subfloor pieces and cut some nice straight lines through the hardwood floors to give us a squared-off shape.
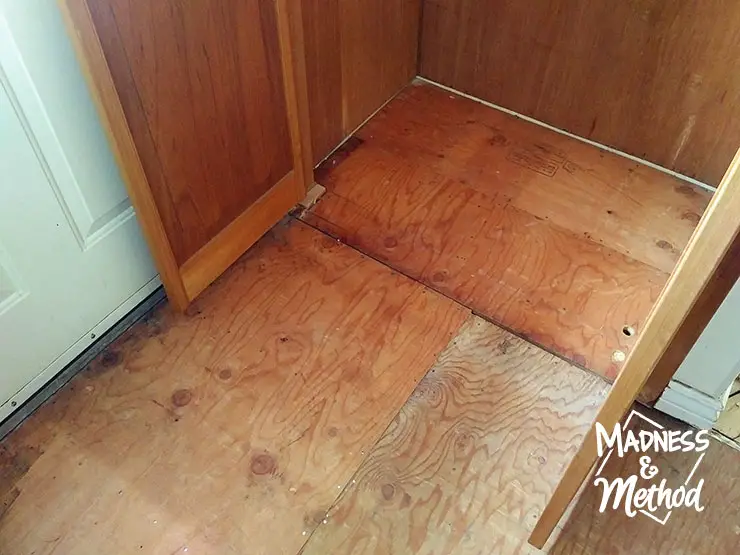
Because we would be installing tiles (and based on my past experience with future damage), I knew that I had to fill in the gaps between the subfloors to account for shifting/moving.
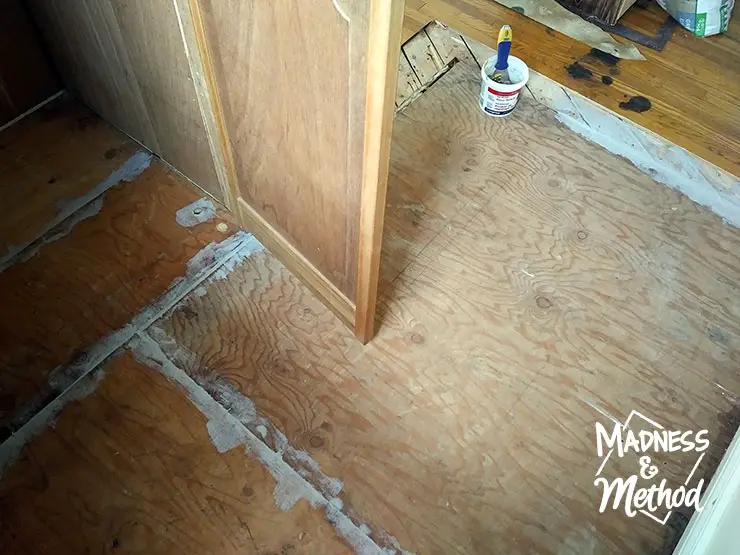
I filled as much as I could with the tub of floor patch I had, but unfortunately ran out and had to get some of this Planipatch patching compound to finish the rest.
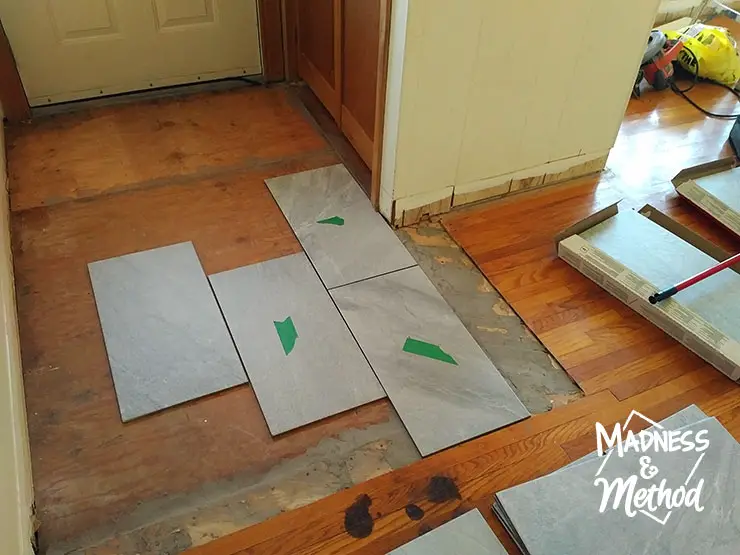
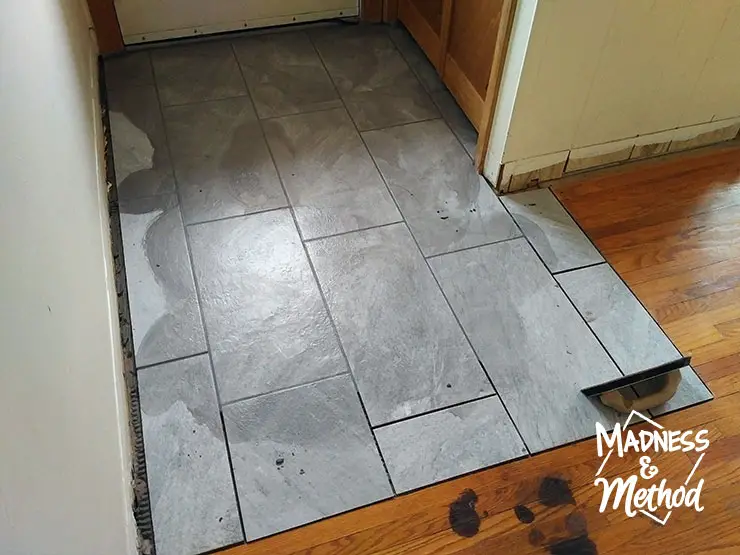
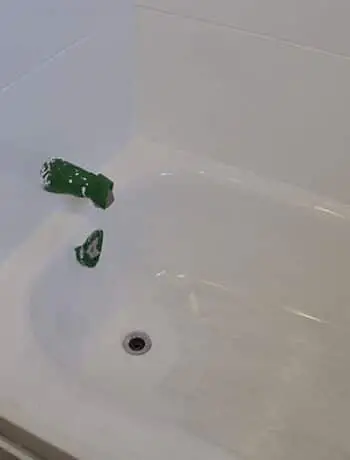
Once that was properly set, I started organizing all my tiles and planning my layout. I bought these light gray 12 x 24 tiles and decided to lay them lengthwise, centered across the wood boards. Actually, I was hoping to avoid doing weird cuts around the closet wall, so I sort of placed my tiles based on that. (Oh and the green tape was just to mark the tiles that had imperfections so I didn’t accidentally use them).
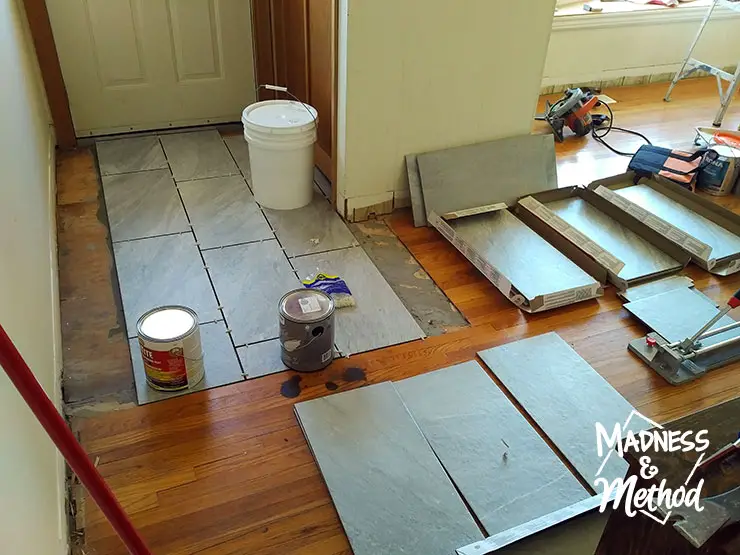
Knowing where I wanted my pattern to start (the tile butting against the closet wall), I started from there and then decided to move into the closet, then out to the main section.
Unfortunately, we didn’t get very far before we realized that we would, in fact, need a wet saw since Brutus was too short and couldn’t cut the tiles lengthwise.
Womp womp.
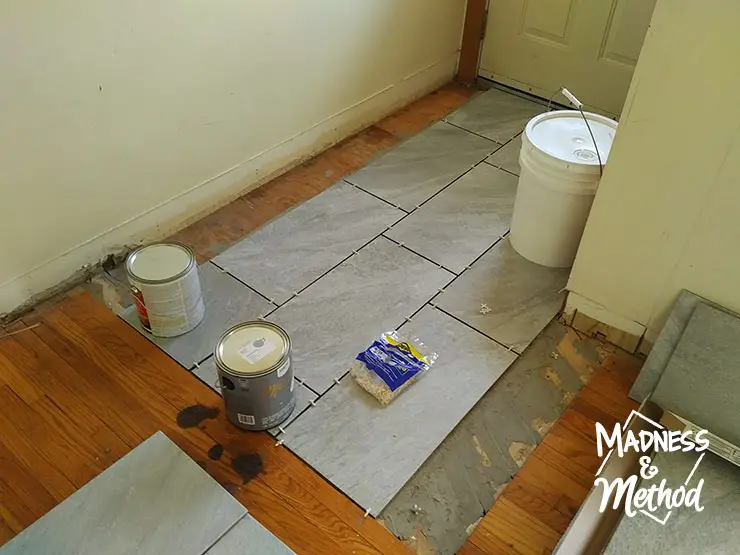
So we got as far as we could (including not finishing the inside of the closet) and then decided to bite the bullet and buy a wet saw ourselves (just something basic similar to this one). We’ve actually done so many tiling projects (like the bathroom floors, kitchen floors, and more!) and I’ve either rented a wet saw or borrowed one from our relatives to do the few weird cuts we needed.
The only store that was open just happened to carry a wet saw that wasn’t too expensive; and I figured it was a good trade-off since we found a light for the entryway that was on sale for like 20$ (and the ones I had wanted to get were around 100-150).
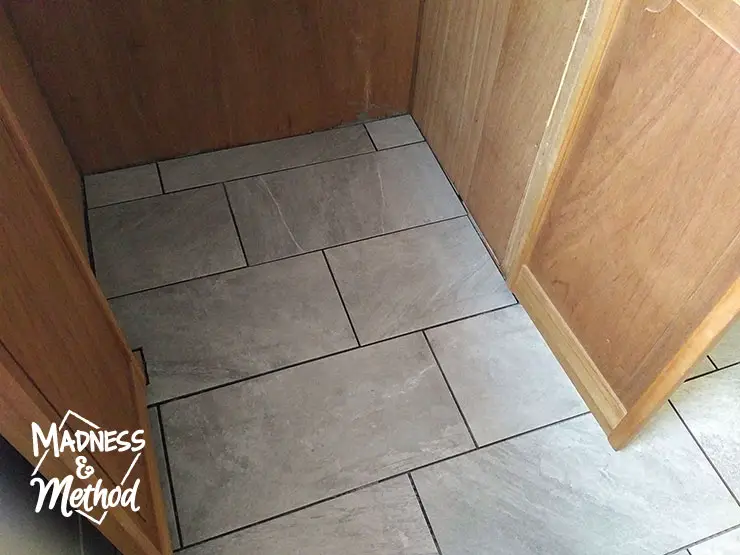
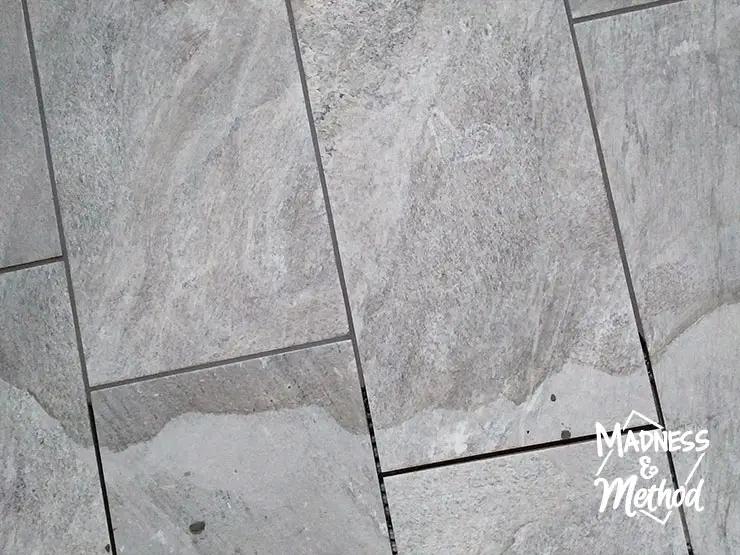
So we finally finished all the skinny tiles and the one weird cut in the closet around a 2×4 that was sticking up. (Fun fact, I screwed up the tiling pattern in the closet from the rest of the entry, can you spot to mess-up?).
Oh, and we even ran out of thinset and had to get that too (and the only one they had was fast-setting… which I would not recommend!). But at least the tiles were installed and I could actually grout that day! (Note there is a larger gap along the wall side, but it matches the same depth as the hardwood floors and will be covered up with baseboards).
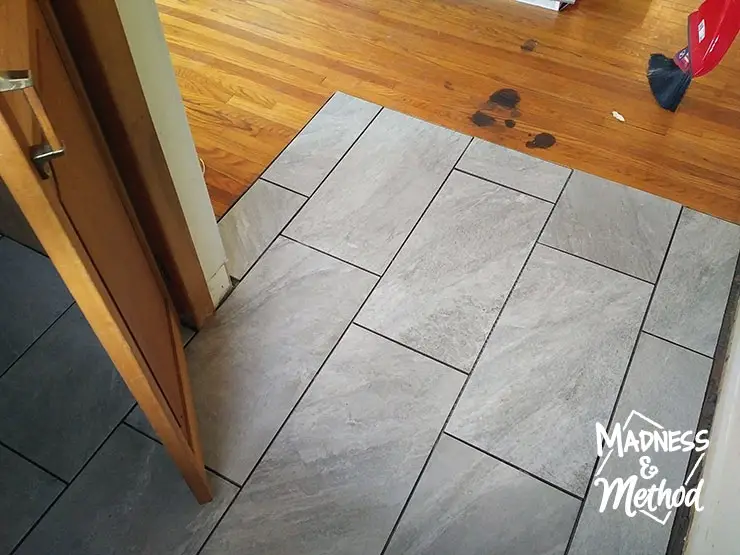
I decided to only grout in the main section (including the closet) and leave the edges near the hardwood floors open. As you might be able to tell, there are some nasty stains on the hardwoods and we’ll be sanding and re-staining them in the near future. I didn’t want 1) the sander to screw up my grout, or 2) the stain to ruin the colour, so figured that I would give myself a buffer area.
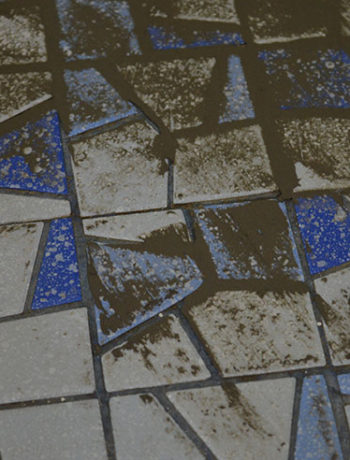
By now, I was getting exhausted and had to head back home, so left the Husband in charge of cleaning up the grout haze for the next few hours. (Not so fun fact, I was actually miserable this day and thought that it was because it was the first big physical labour-type project I did since having the baby. Turns out, I was just starting to get mastitis and was most likely running a fever, so the next week I was basically useless).
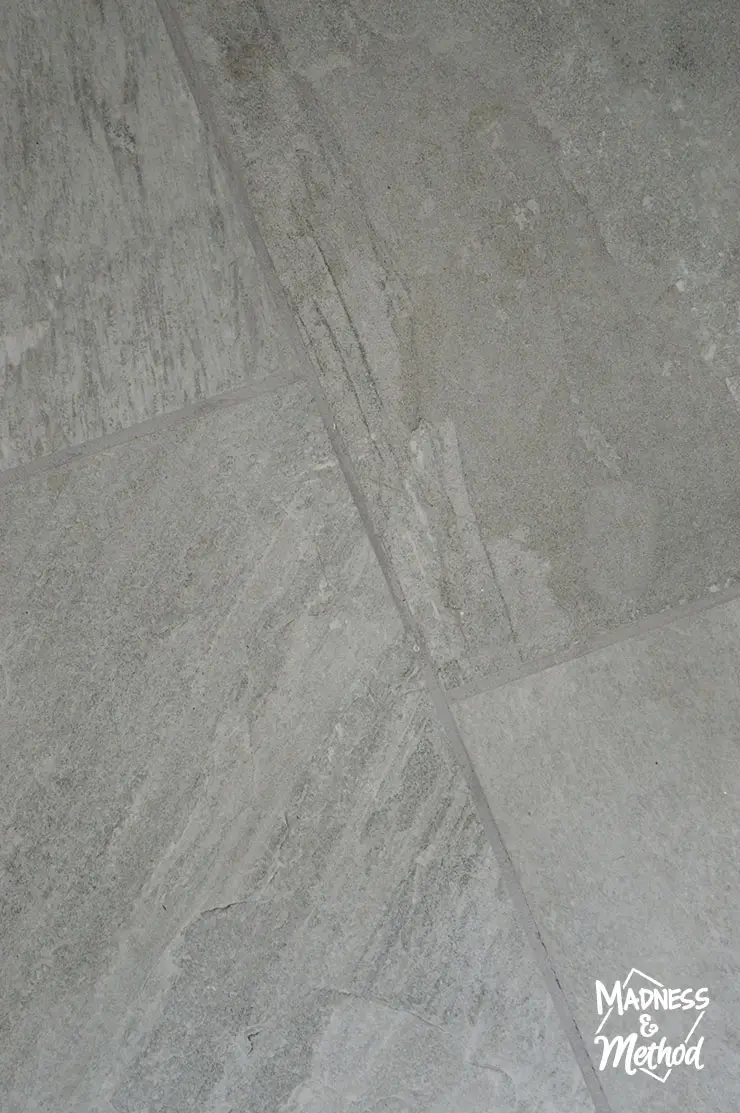
When I returned a few weeks later, it was looking so good! I believe the grout colour I chose was called Platinum, and I wanted it to blend seamlessly with the tiles as much as possible.
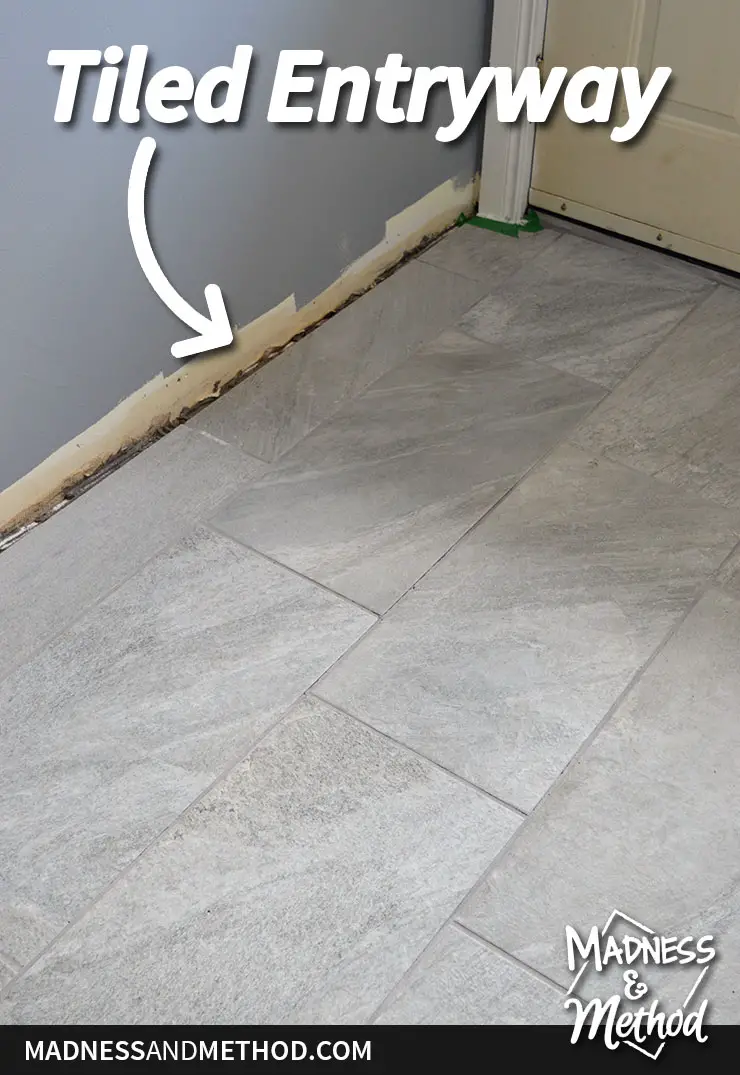
Since tiling in the entryway, I’ve pretty much been painting everything non-stop, and am hoping we will eventually get to the last project (the wood floors) so I can actually finish the grouting! The photo above shows the Blue Slate wall colour (and white painted trim), so you can see how that dingy door really stands out.
Next time I show off this area, everything should be complete; but for now, I’m LOVING the tile choice I made, and can’t wait until I can add them to the kitchen when that gets renovated (you know, in a few years, ha!).
I just have to hope they don’t discontinue them :)

4 Comments
Mommy aka Louise
July 25, 2018 at 9:37 pmlooks good! love that tile colour!
Nicole
July 29, 2018 at 1:58 pmYa, I was looking for something gray between the colours of concrete and a dark slate (but not black) – so these worked out perfectly!
Christina
October 21, 2022 at 6:46 pmLove these pics- I need to finish the job- how did you make the transition look good? More pics! Next steps?
Thanks, Christina
Nicole
October 24, 2022 at 8:25 pmHey Cristina! I ended up just grouting right to the hardwood floors (and it’s still held up years later). Here is a follow-up with photos: https://www.madnessandmethod.com/entryway-transformation/. In the past, I’ve also used a super small metal transition piece (here is an affiliate link for that: https://sovrn.co/ari5euw) if you are worried about cracking grout.