
We’re still updating the upstairs of our rental home, and I’ll continue to share rooms and projects as they are completed. Today is all about the easy hallway transformation that we did using paint; so let’s dive in!
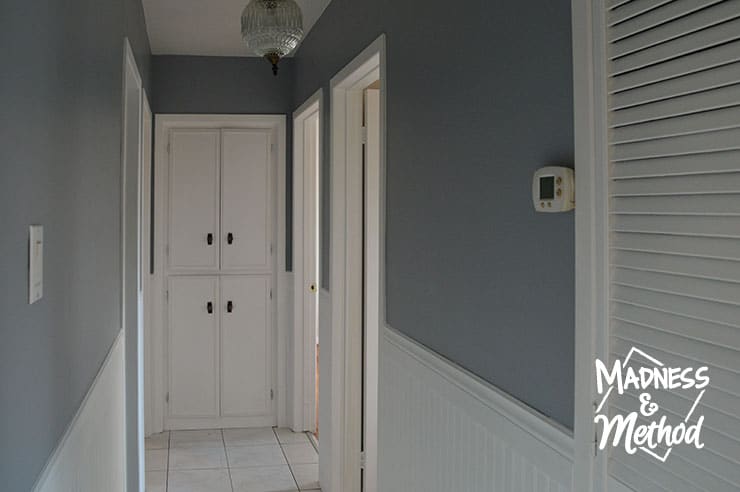
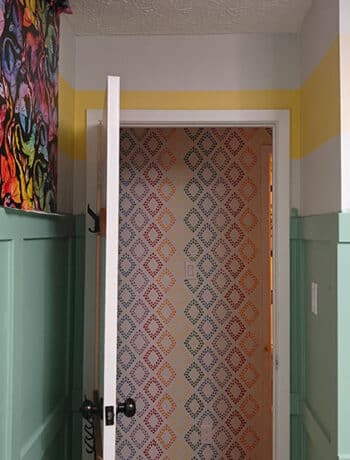
You can see the original hallway in the upstairs tour post and video, but it was basically a plain space with light yellow walls, wood beadboard panelling and a couple of storage areas (off-white ones at the back, and one darker wood door near the front).
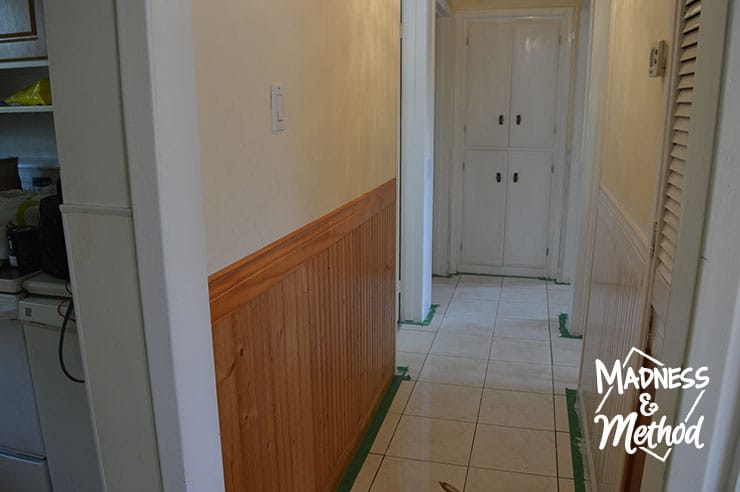
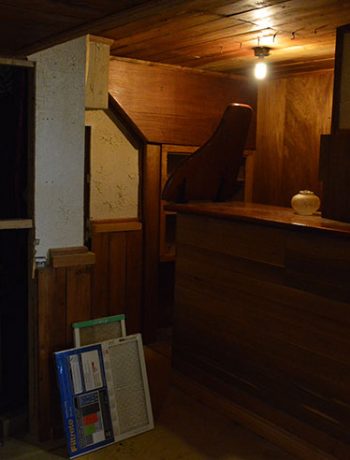
My first instinct was to just paint the first closet door (the dark wood one), because it didn’t match any of the other wood tones in the house (ie: the floors).
I was then going to paint all the off-white areas to be a bright white… but decided to make everything white instead. This obviously added more time, but at least it would be more refreshed and streamlined by having fewer colours.
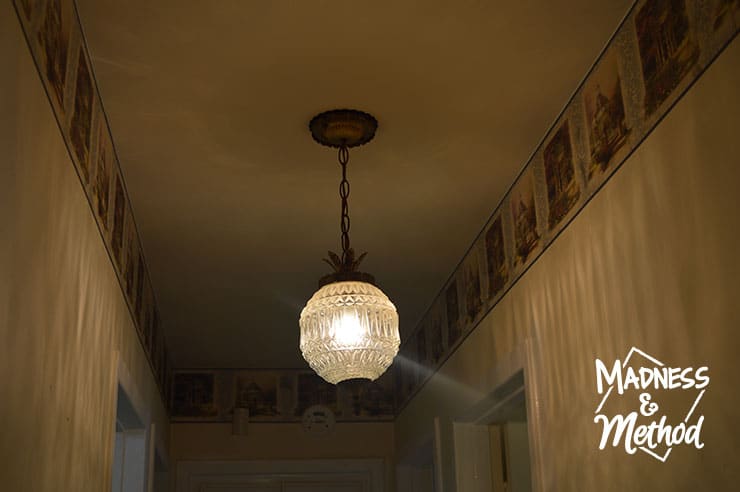
There was a wallpaper border along the ceiling and a hanging light fixture. I do want to raise the light fixture up a few inches (and clean the glass – it’s actually supposed to be clear but there is a layer of grime…).
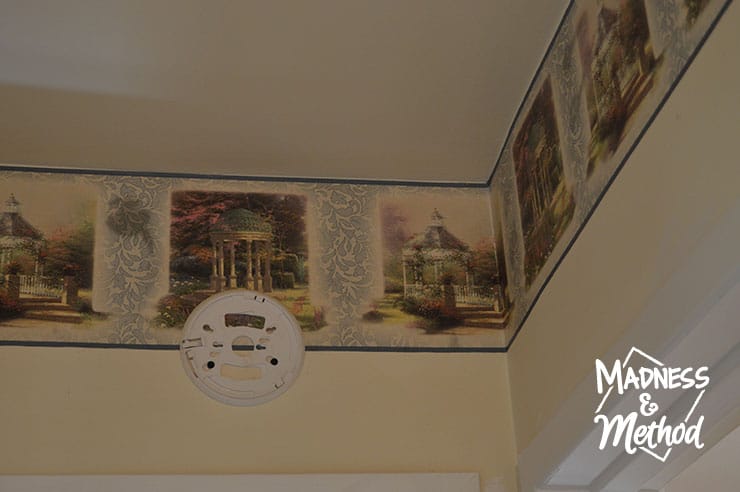
I started removing the wallpaper but ran out of time, so I assigned that task to the Husband when I returned back to our main home.
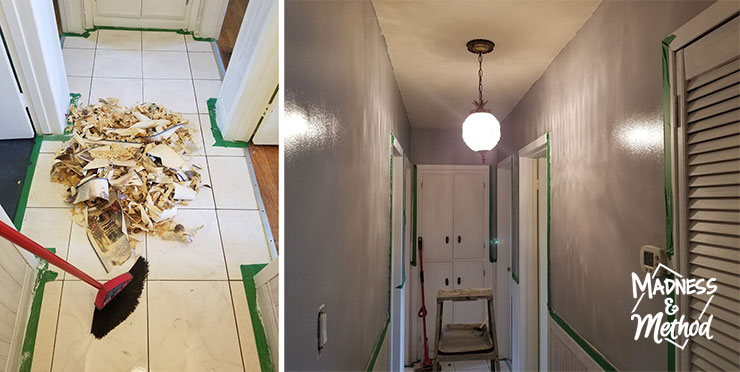
He sent me the two pictures above showing his progress. And being the ever-supporting-wife that I am, rather than saying “good job” for completing some tasks, all I could think of was “umm, you got grey paint on the ceiling, and now I’m going to have to paint it!”.
I know, nice lady :)
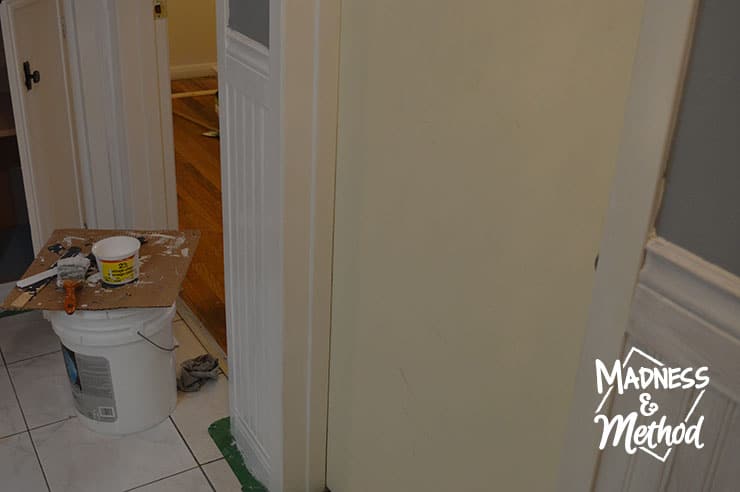
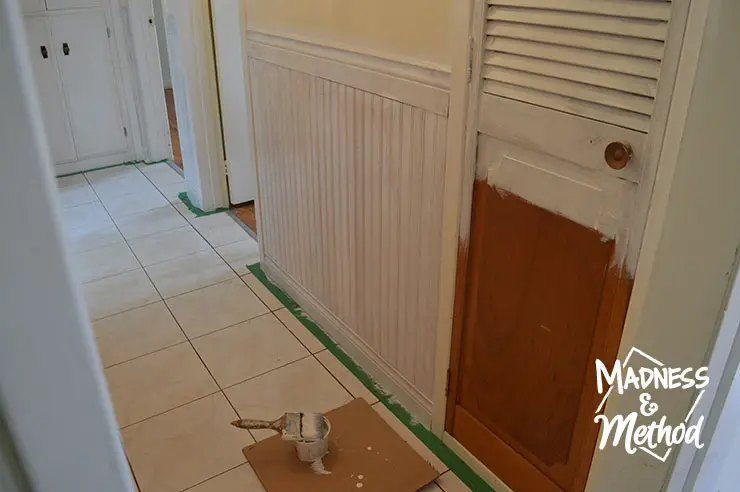
Once all the gray was done, I had to go back in and do a couple more coats of white, and I also caulked all the seams in between the pieces of panelling. Whenever I painted white, I also went into all the bedrooms and painted the trims and doors in there too.
We were actually using the leftover white paint from when we painted the basement panelling in our house, and luckily this wood didn’t require any special primer!
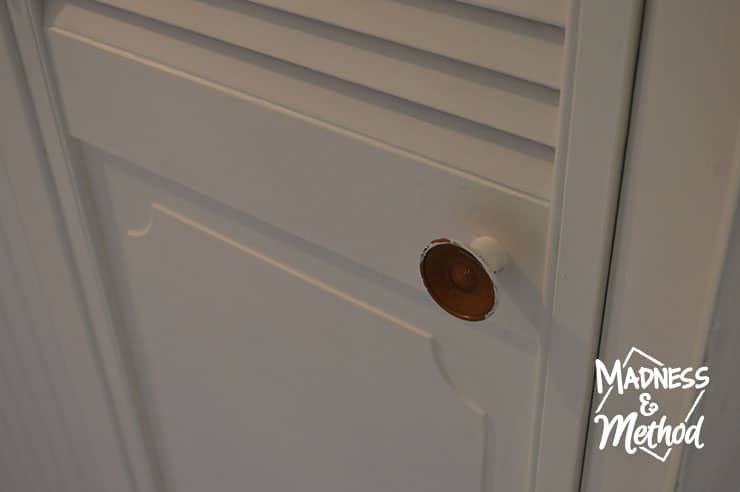
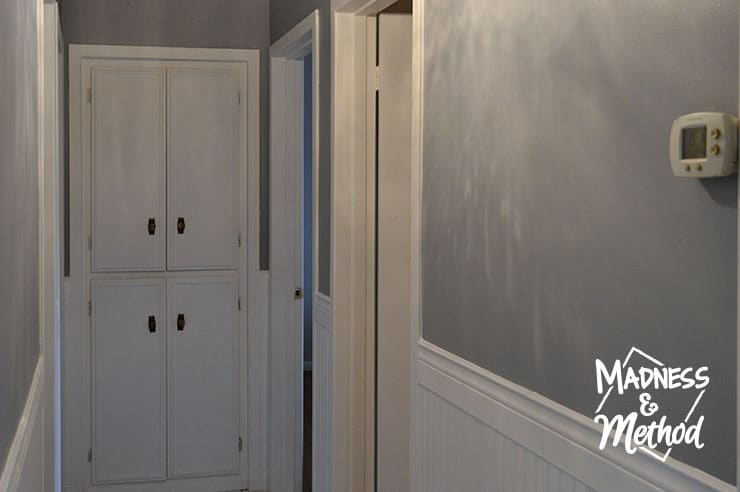
While I was originally very careful around the doorknob for the closet, after the 2nd or 3rd coat I got a little sloppy. I know I can always replace it later – but in the meantime, I decided to paint it too!
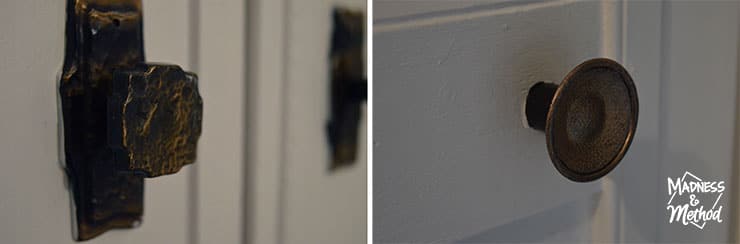
I tried to emulate the dark and gold colour of the knobs on the back closet, and even though it isn’t perfect, it’s still pretty cute and much better than half-painted white.
After painting the ceiling and cleaning up the edges of paint along the trim, I’m thinking that this hallway looks very different than where we started!
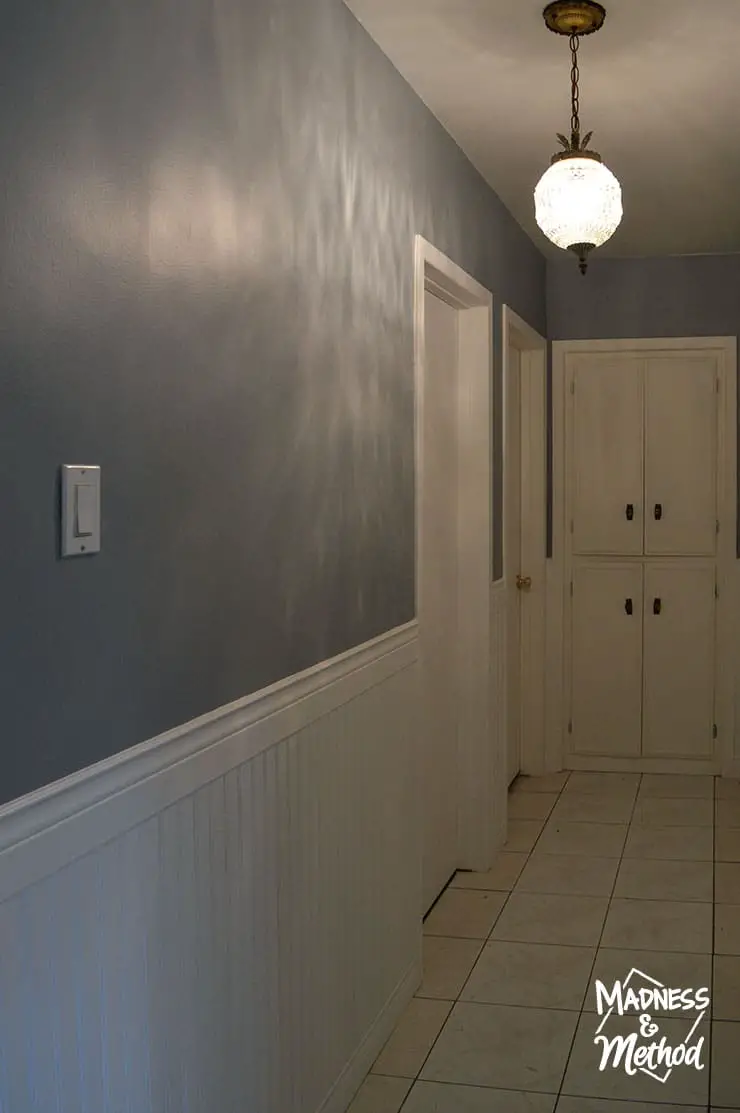
Everything just looks crisper and will match the rest of the upstairs a lot better (the entrance will look similar to this actually).
It would have probably been okay to leave the wood panelling as-is, but at least this way I was able to clean up all the gaps. Although, I do think some of the doors are still coming up off-white, so I may unfortunately have to prime them with something a little stronger…
Want to see a before/after comparison:
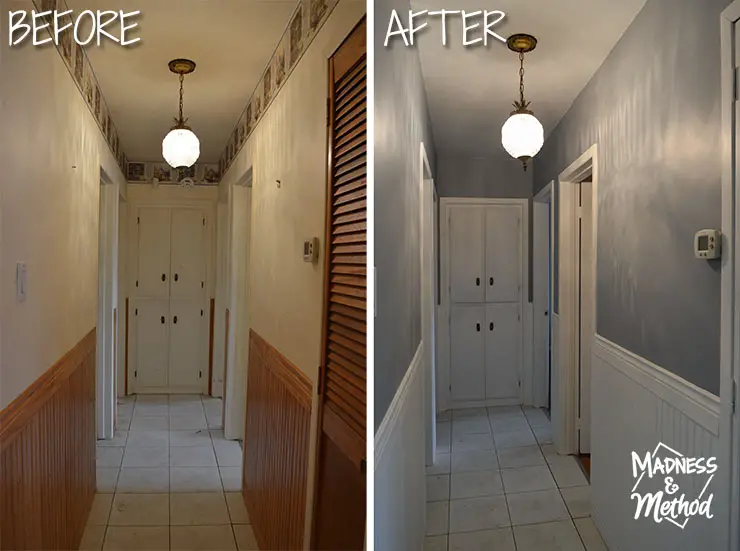
Heck, just removing that wallpaper border makes the ceilings look so much taller! Eventually, I’d like to continue the grey tiled floors from the entryway into this area, but for now, the off-white tiles will have to do (fun fact: there are actually 2 different types of tiles on these floors…).
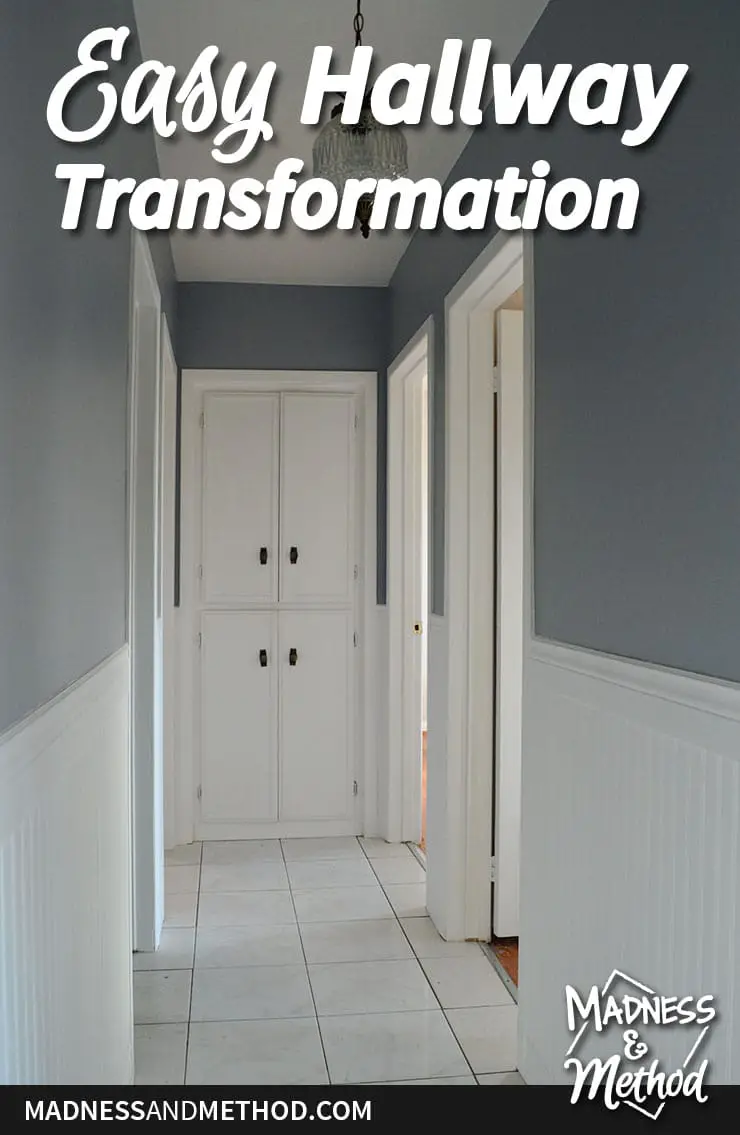
Like I mentioned before, this easy hallway transformation was accomplished using only paint, and it’s a much brighter (and bigger looking) space. More importantly, we were able to give everything a good cleaning, and the paint did help cover some of the weird marks and stains that didn’t come off.
It kind of reminds me of our main home’s hallway too, but originally I wanted to go a bit different here (maybe painting the panelling dark!?).
But hey, it’s just paint and can easily be changed in the future :)

No Comments