
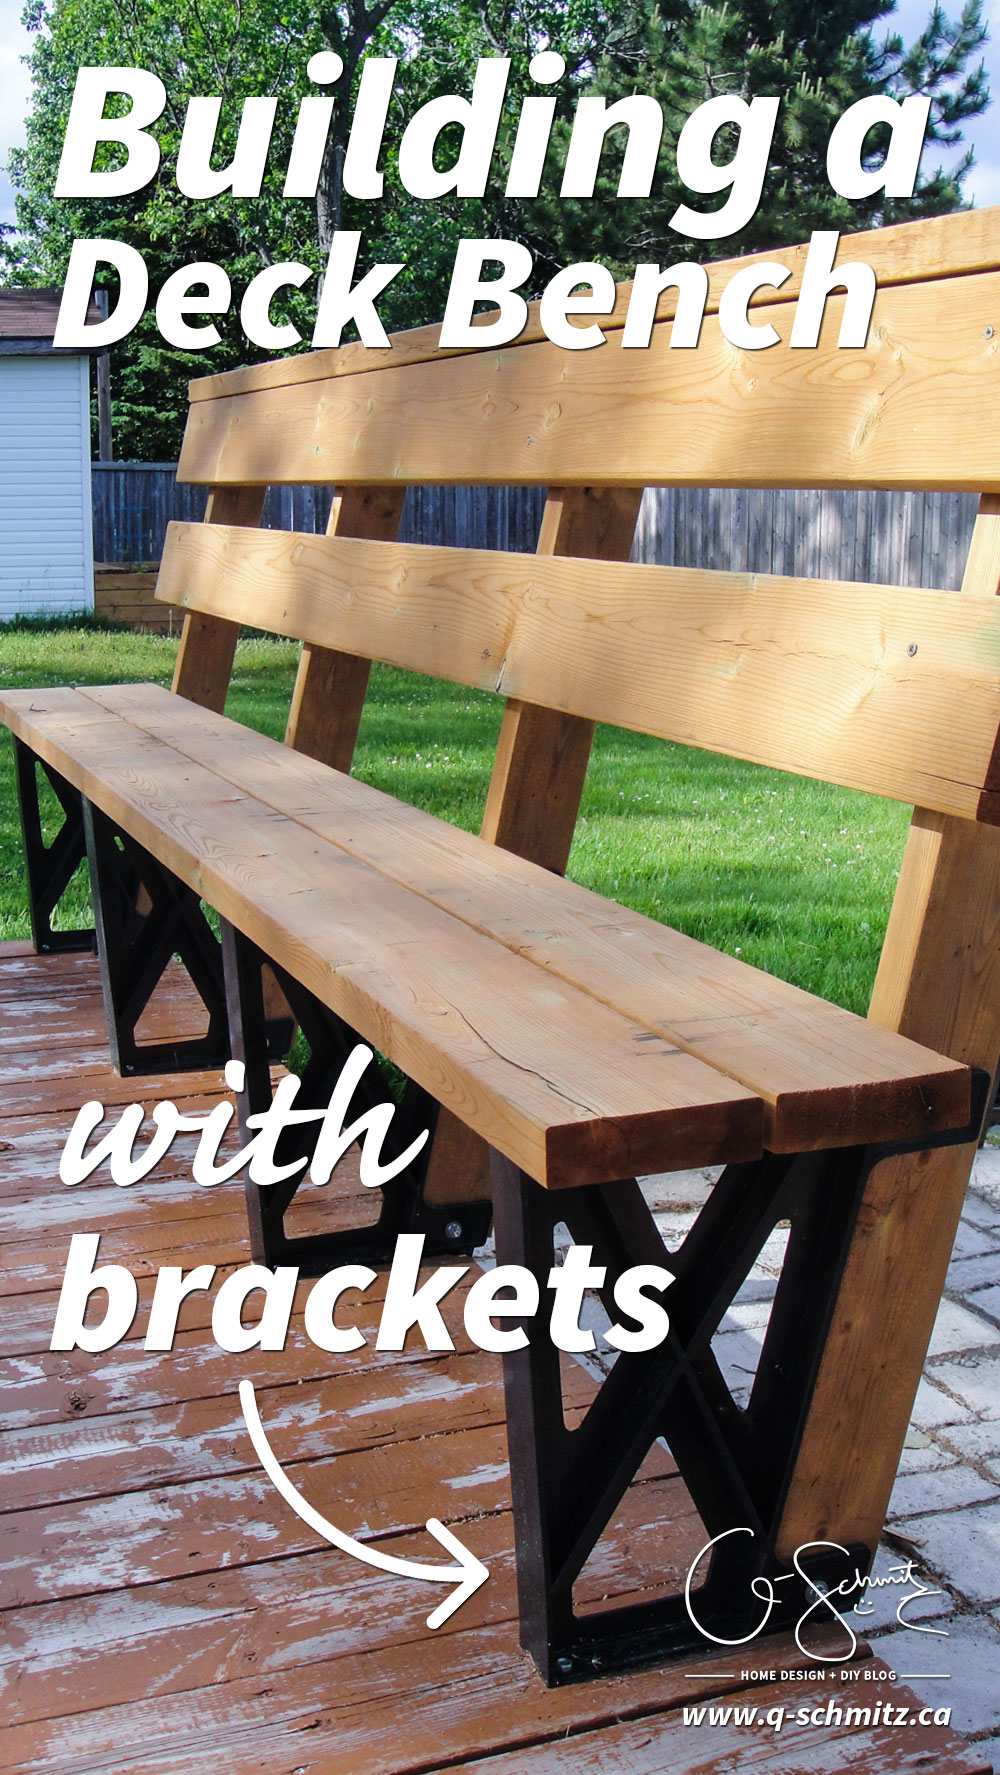
As you may remember, I had been planning on building some benches for our deck for a while. Actually, I’ve wanted to tackle this project for over a year now, but we just didn’t have time last summer. I was even holding off on another project (completing a table I was fixing/finishing) until after I could get these benches in (so I could double check that the leg height/clearance would work). Nevertheless, today I’ll be discussing the process of how we assembled our first deck bench with brackets.
– Note: This post contains affiliate links. See more information about affiliates here –
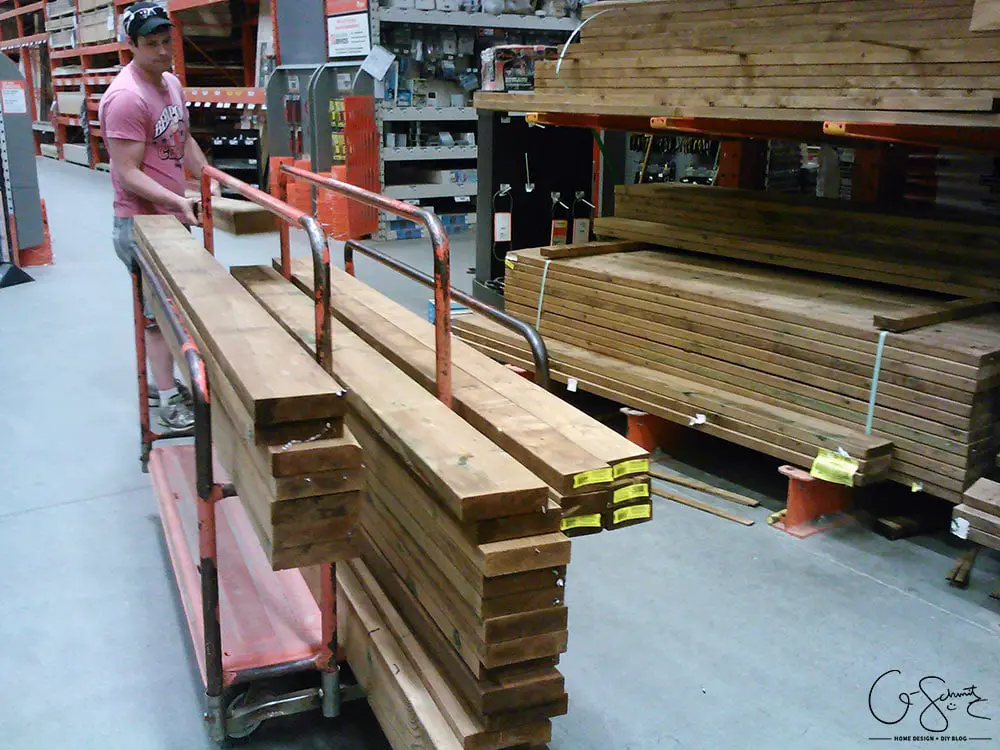
We purchased our wood and brackets at the Home Depot, but you can buy similar brackets online. We also decided to splurge on a mitre saw to help us with all the cuts. I had read the instructions for the brackets online previously, and knew there would be some strange angles that we had to tackle. I’ve always dreamed of having my own mitre saw … my favourite saw… or is it the wet saw? Ok never mind for now!
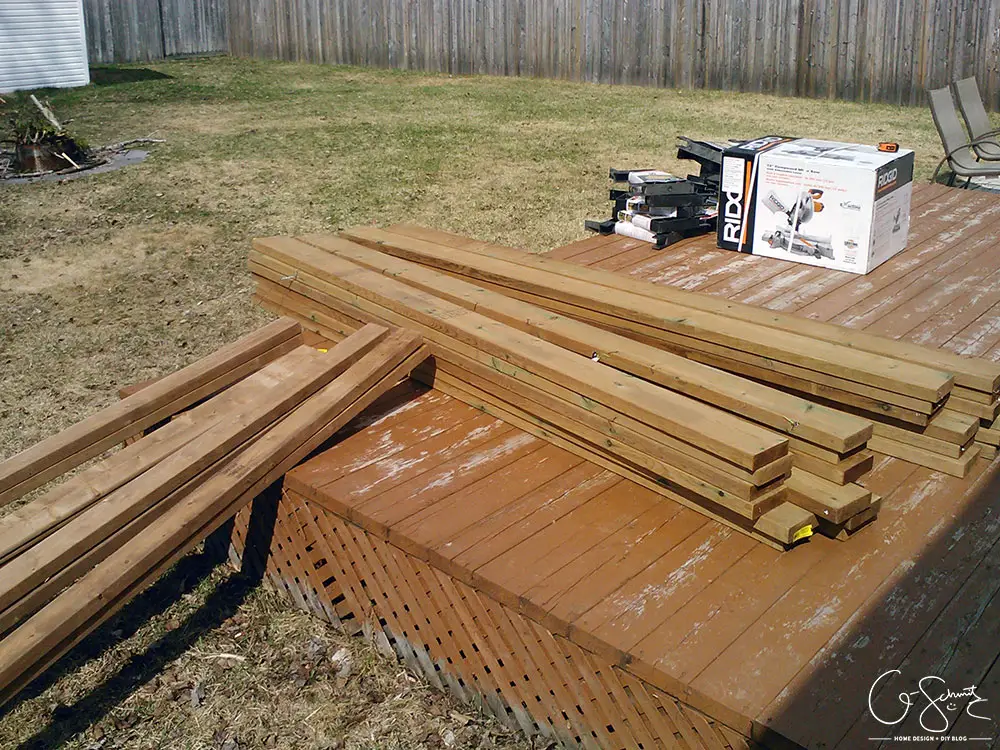
We brought all the pieces of wood back home and put them in piles based on their size.
For one 8′ bench section, you will need:
- 2 lengths of 2×4 (8′ long)
- 6 lengths of 2×6 (8′ long)
- 1 length of 1×4 (8′ long)
- 4 bench brackets (buy bench brackets at Amazon or buy from Amazon.com here)
You’ll also need some tools like hammers, drills (this is the drill we use), bits, wrenches, a mitre saw, etc.

Notice how our grass is still yucky and brown in these photos? We actually installed our benches nearer to the beginning of the summer (when Tootsie had a cone from her no-puppy operation).
The first step to install these benches is determining where they will go! I already knew that I would place our 8′ straight section on the North-West edge of our deck. (Next week I’ll go over the corner section installation). Each of the brackets should be distanced approximately 2′ apart, so we placed them in position and marked where they would go.
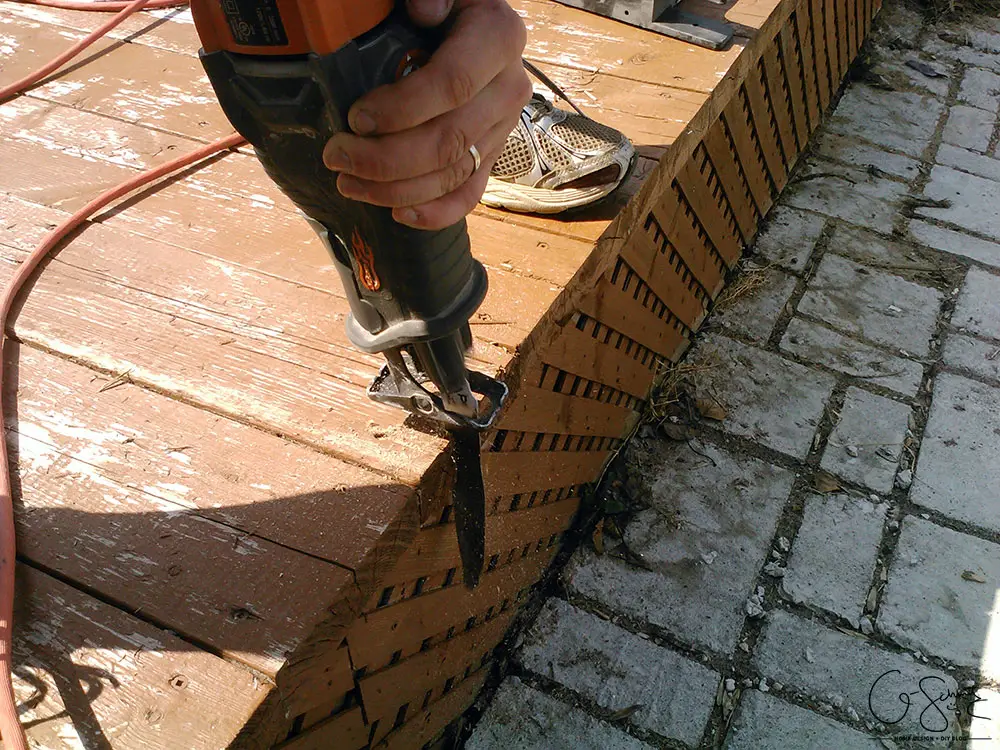
Because our deck has a bit of an overhang, we had to use the saws-all (reciprocating saw) to cut out a notch for the brackets.
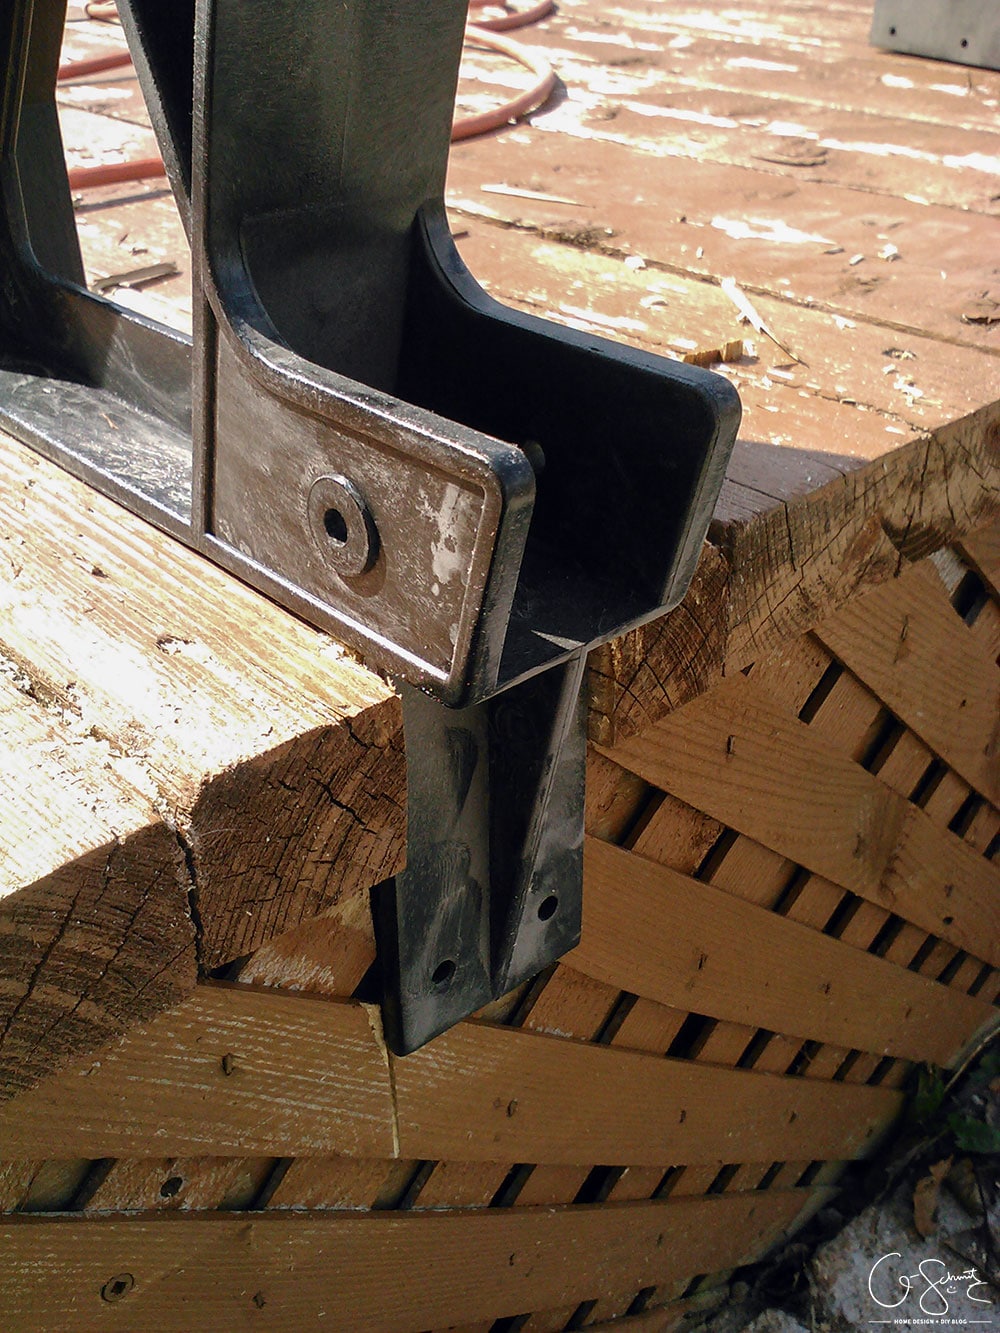
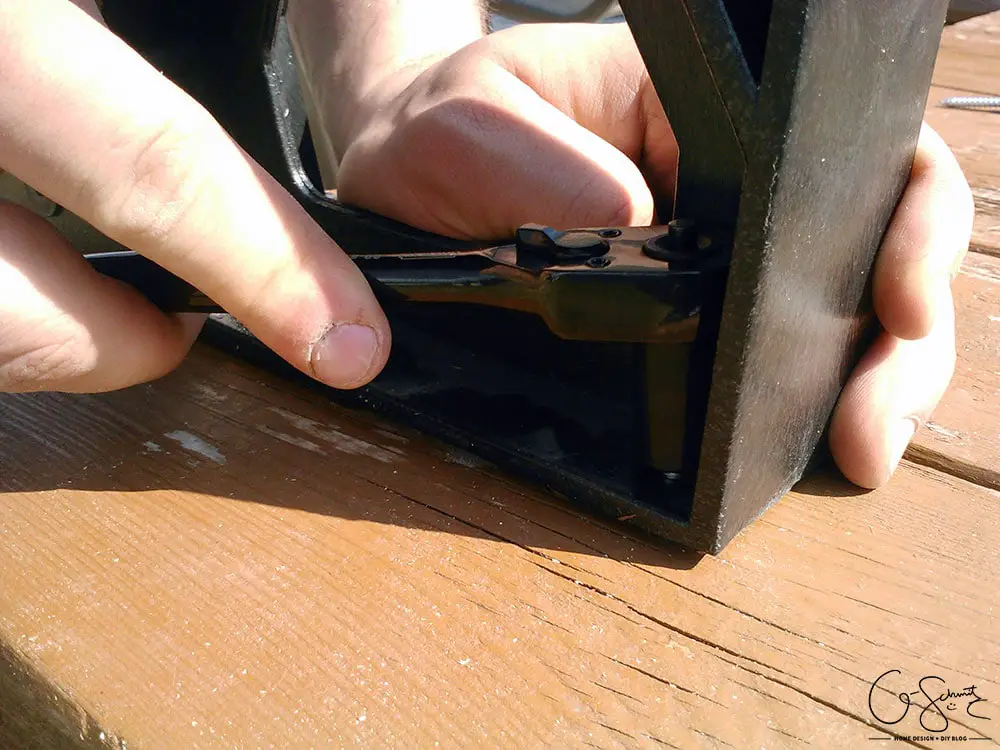
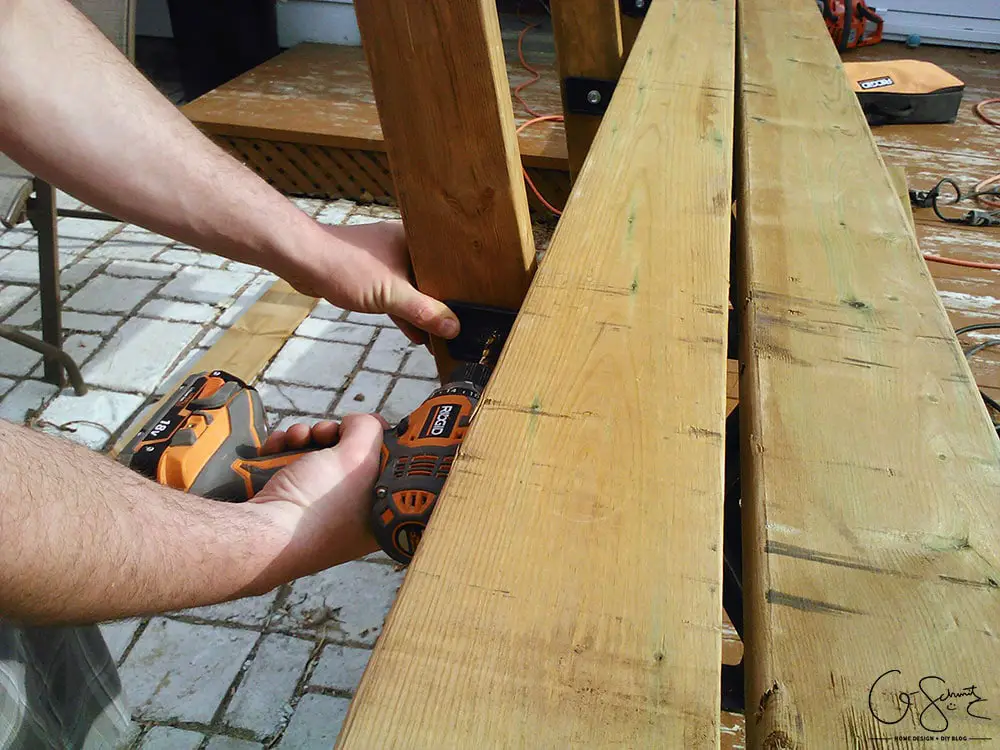
You want to make sure the bottom and top of the bracket (where it meets your deck) is flush, so there can’t be any gaps. Once we had it in the position we wanted, we marked where we would need to drill pilot holes (on both the top of the deck, and along the side).

Following the instructions that came with the brackets, we drilled pilot holes and then screwed the brackets down. Our brackets came with all the required hardware, but I’m not sure if all brands/types do.
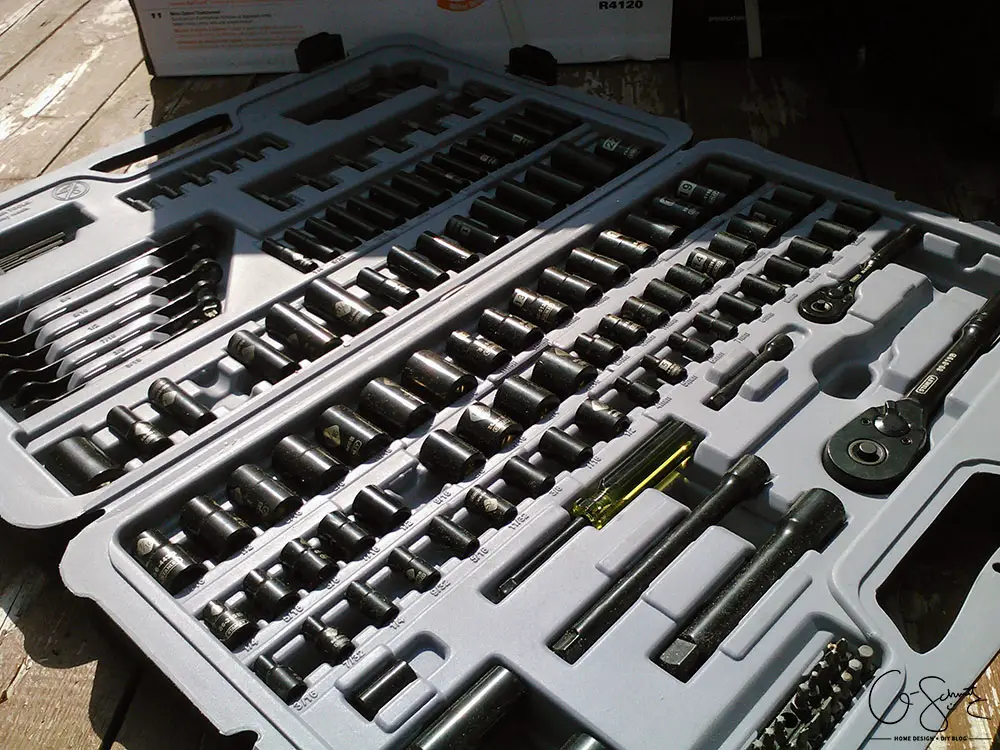
Actually, I mentioned that we screwed these down – sorry – we actually bolted them down. You can use a wrench, but the Husband has a large socket set that came in handy for this task.
He did most of the socket-ing, because for the first few brackets I could not get the handle on those things! I thought that the noise meant that they were tightening and would get confused when there wasn’t a noise. DIY/PRO Tip: The noise just means you’re “resetting” the socket, and then you go back the other way to tighten it. I hope that makes sense.
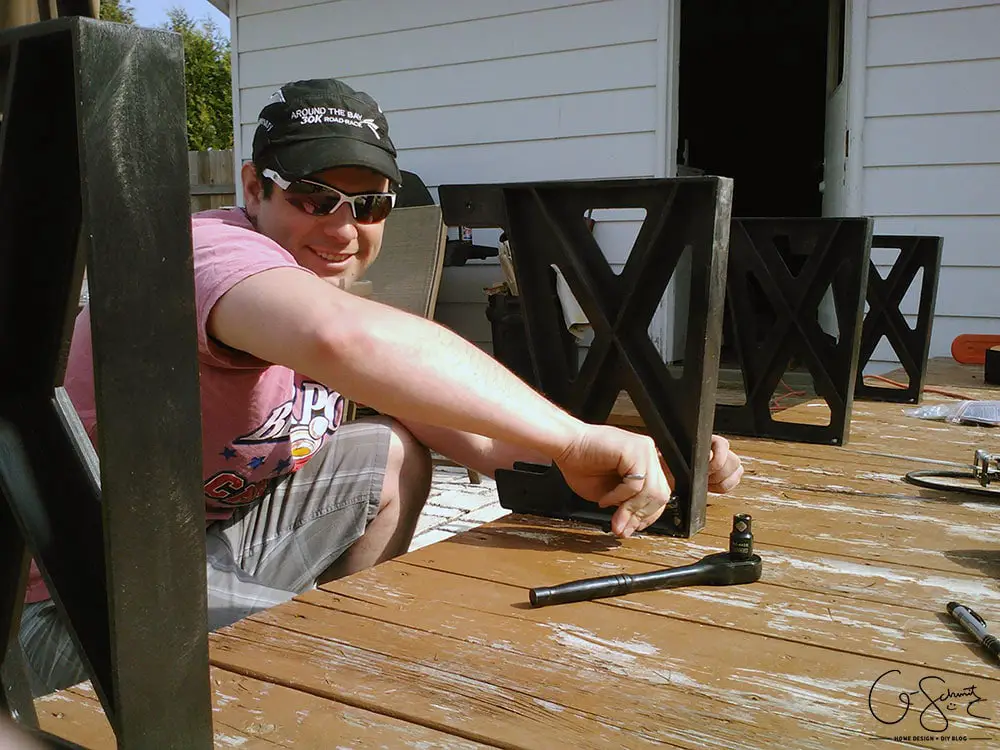
Either way, look how happy the Husband looks when he’s doing all the socket-ing :)
Once all the brackets are in place, you cut your 2x4s to the required length. There were two options (36″ or 42″) depending on how high you wanted the back of your bench to go. I think we went with the taller length.
DIY/PRO Tip: The instructions say to drill through your 2x4s and bolt them together at this point. DON’T DO IT YET. We found it was best to have the 2x4s sitting in place, and THEN put the 2x6s across the top. That way, if there was a bit of gap between the back part and the seat boards (the 2x6s that went across), you could adjust the 2x4s (the back) now. Much easier than to realize one of your brackets wasn’t in the exact same spot as the others and have to un-bolt it and drill another pilot hole close to the first one.
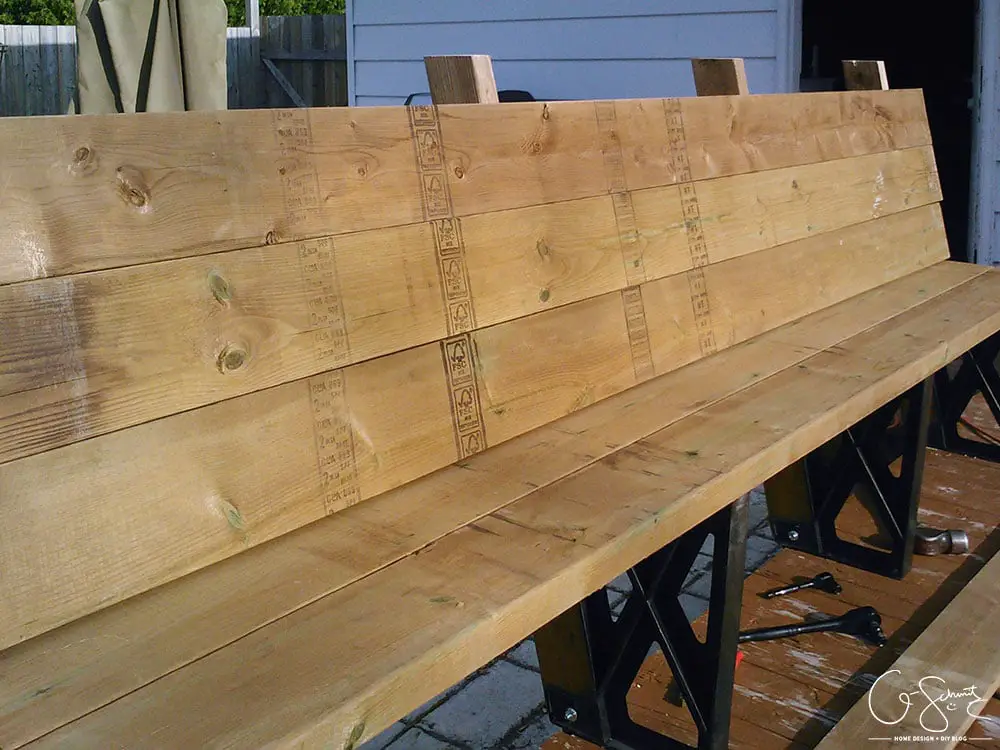
We had purchased a few extra 2×6 boards knowing we would be using them up anyways. The bench is supposed to be made with two pieces along the back, but I thought that it looked super sharp with three instead. Before we screwed them in place, we did a test “sit” and it just wasn’t that comfortable. There wasn’t that much butt room (TMI?).
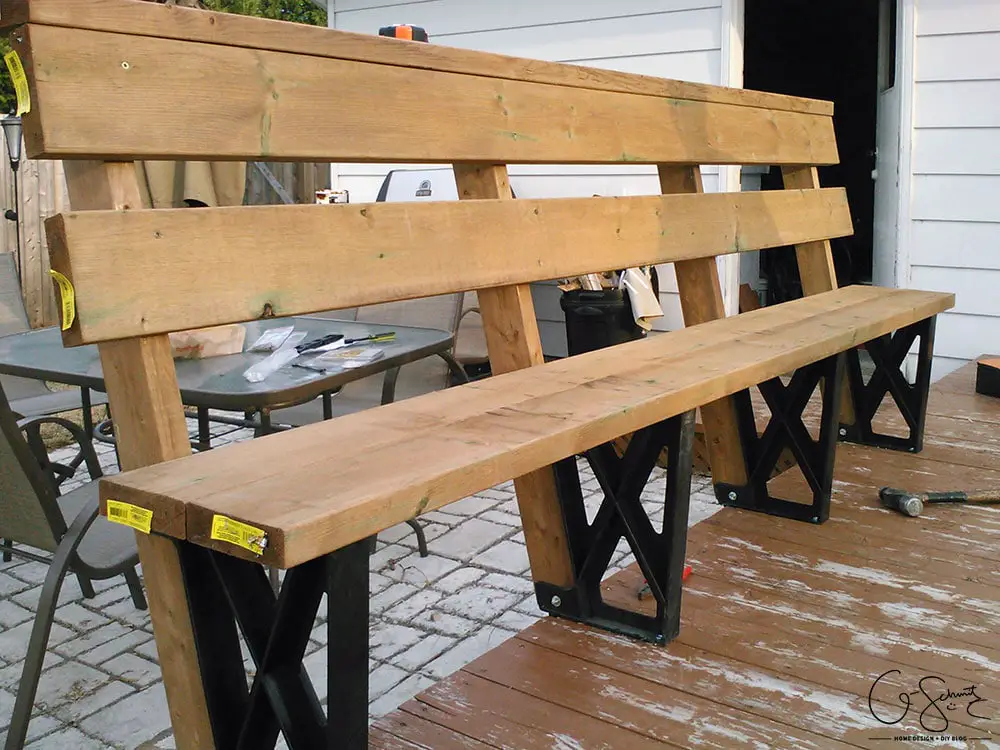
Actually, that’s how we came up with the placement of our 2x6s. The instructions say to place them equidistant to each other, but we did another test sit and found the optimal height for them to give enough butt room. (I think it was about 6″ up from the seat section). We butted the upper 2×6 along the top of the 2×4 back section, and then put the final 2×6 board across the top.
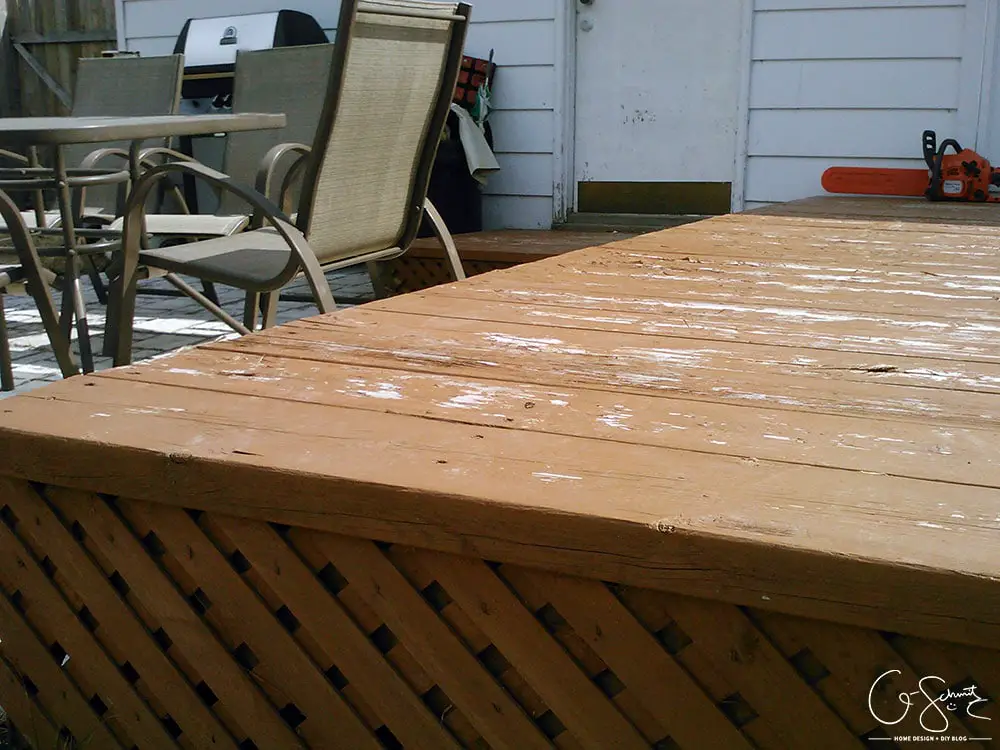
We didn’t install the pieces at the bottom (where your feet go), because I wanted to stain the deck first and would have better access this way. Yes, it would have been much simpler to put the bench up AFTER the deck was stained, but the Husband was feeling ambitious so we jumped on this project early. And up until now I haven’t had a good week of sun to actually stain, so it’s a good thing we built these when we did!
All in all, it took about 3.5-4 hours for the Husband and me to do this one 8′ bench. We did have to stop a lot and look at the instructions, but by the time we got to the corner section, we were practically pros! My favourite thing about this bench? The top bars acts as a mini-countertop for drinks!
What do you think? Were you looking at buying some bench brackets and weren’t sure how the project would turn out? I hope we helped you with your decision and I’d love to hear more in the comments! Also, don’t forget to check in next week for some tips and tricks on how to install a corner section using the same bench brackets.
No Comments